Apple has provided a way for years to lock your Mac’s screen when unattended. Here’s how to use the options within macOS.
Apple has provided a way for years to lock your Mac’s screen when unattended. Here’s how to use the options within macOS.
For security reasons, macOS allows you to lock your Mac’s screen so that others can’t gain access to your Mac while you’re away from it. These options allow you to set a password required to unlock the screen after it locks, turn the display off, start a screen saver, and set options for Fast User Switching.
Getting started
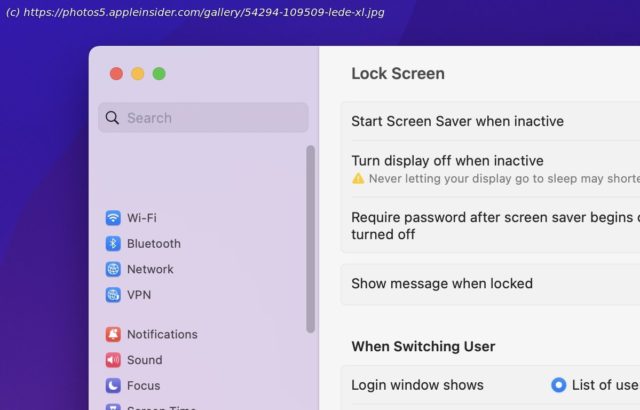
To access your Mac’s lock screen controls, select “System Settings” from the Apple menu in the main menubar, then scroll down and select “Lock Screen” on the left from the Settings list:
The first four options are:
We’ll discuss each of these briefly:
“Start Screen Saver when inactive” sets the time interval at which the currently selected Screen Saver starts after a period of inactivity. Click the popup menu on the right to set a time interval from one minute to three hours.
You can choose which screen saver to use from the Settings list on the left under “Screen Saver”.
When the set time interval elapses and there has been no activity on your Mac – including no mouse or trackpad movement, and no keyboard activity, the selected screen saver will start automatically.
Screen savers are stored in the /Users/~/Library/Screen Savers folder and for all users on the computer in /Library/Screen Savers.
Screen savers usually have a file type of .saver. You can add new screen savers to your Mac by dropping any .saver file into one of these locations on your Startup Disk.
In the “Turn display off when inactive” popup menu you can also set a time interval from one minute to three hours.


