In this guide, we’ll walk you through the entire Wasteland 3 Aspen questline with detailed information and few hidden secrets
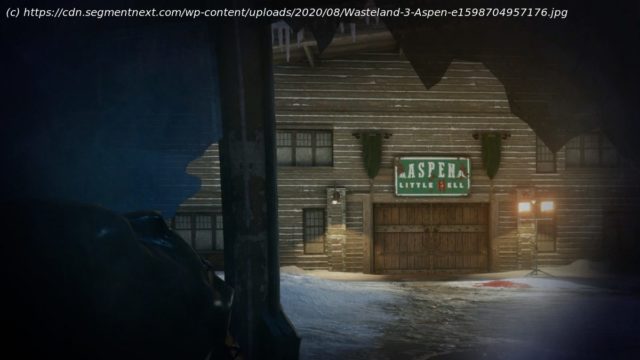
In this guide, we’ll walk you through the entire Wasteland 3 Aspen questline with detailed information and few hidden secrets so make sure to read the entire guide. Once you’ve eliminated Valor Buchanan, your next stop is Aspen. Aspen is found at the north part of the map and it’s a part of the main quest in Wastelands 3. In this quest, you must find Victory Buchanan in the Little Hell Resort and at the end you’ll have to make a decision about his role in the quest. Initially in the area, you’ll find a group of Breathers to take care off, you’ll find the Welcome Lodge Key in possession of one of the Breathers. Find a Truck containing the Employee Longue Key instead and open the side of the building. Grab the loot and enter the room to come across Opie. From Opie you can buy Pup Scout Camping Guide and the Bear Suit. There’s a terminal in the small rom that allows you to use the turrets and kill the Breathers (In the same area you’ll find bar with a corpse with the Veteran Ranger’s Star accessory). Using the turret, kill all the Breathers in the area and find the Gift Shop key along with the M1989A1 assault rifle. The key is used for entering the small room with items that can be sold for a reasonable amount. Now, from here you can reach the next area with the help of a drawbridge that’s lowered from the terminal in the shop. Crossing the Bridge gives you Riley’s message. Keep moving forward till you come across a fork in the road. You can head North from the blooding sign “Set Yourself Free” or you can head east by passing through the construction area. You can always head back to the road and explore both areas if you want. But don’t waste time since both the paths lead you to your destination which is a battle against Victory’s henchman, Federico. From here, make a player step right on a wooden plate while the other player activates a switch on its left. Once the final activation takes place, everyone is able to cross. Moving on to the next area, the next area consists of spiked turbines that are deadly so stay away from them. Toss the Wounded NPC to the fans and activate a switch, then activate the next switch and so on till you clear out the area and come to a dirt path. This path has a lot of Explosive traps on it along with a gate and many containers. Also, you’ll find the grave and the Death Lance sniper rifle in this area. Interact with the broken valve and cause flames to burn the growlers. Reach the final area with the help of the switch but keep an eye on the explosive traps here. Once you’ve reached the final area, you’ll be behind Federico and his Breather troops. To pass time, you can always wreck the generator for the turrets and grab the Wasteland Hawk pistol from the container The Construction area has several Breathers roaming here and there along with multiple chests with a good amount of loot in them. There’s a shed with a safe that provides you with ammo and Purifier flamethrower; which is very handy for a situation like this. The generator on the east side allows you to access the terminal near it which allows you to bring the cover up and enter the storage area. Once you’re inside the storage area, you’ll find weapons, ammo along with grenades and a Terminal which allows you to disable robot defenses which then allows you to take all the loot in the lockers without fearing the robots. Loot such as Cold Comfort shotgun, Sawsword bladed weapon, Wasteland Hawk pistol, and Nidhogg machine gun.


