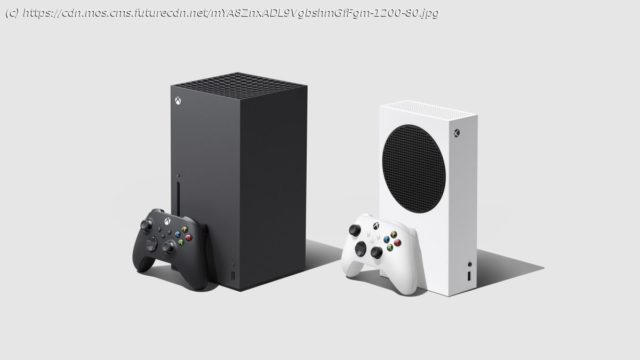
This is what you should do first if you got an Xbox Series X/S console for Christmas.
It’s been over a year since the Xbox Series X /S consoles went on sale, and even though supply issues remain, there’s a greater chance that many gamers have now been able to get their hands on one. With that much time to build anticipation, you probably want to shred open the package, shotput your new console at your TV, and immediately start playing – and who could blame you? But before you do, now is the time to make sure your beginning hours with your new console are as smooth and enjoyable as possible. Nothing is more frustrating than getting a black screen or no audio when turning on a console for the first time. Luckily, setting up an Xbox Series X or S is relatively painless, even if you’re not particularly tech-savvy. However, Microsoft’s new consoles are a bit more complicated than their predecessors. As such, it can be very easy to overlook an essential step when hooking things up. Fortunately, we’ve gone through the trials and tribulations of the ninth console generation, and we’re here to share our experience with you. So here’s our advice on the first five things you need to do if you just got an Xbox Series X or Xbox Series S for Christmas. Many gamers have used the same old HDMI cord for the last couple of console generations. Until now, it didn’t really matter what HDMI cable you used as long as it was of decent quality. However, that’s all changed with the latest generation of consoles. Xbox Series X/S consoles are HDMI 2.1 compatible. So, if you use the right cable with a TV that has HDMI 2.1 ports, you’ll get access to new features like Variable Refresh Rate (VRR), Auto Low Latency Mode (ALLM),4K at 120Hz, and more. Luckily, Microsoft includes a compatible Ultra High-Speed HDMI cable that can handle the 48 Gbps bandwidth needed to use these features.


