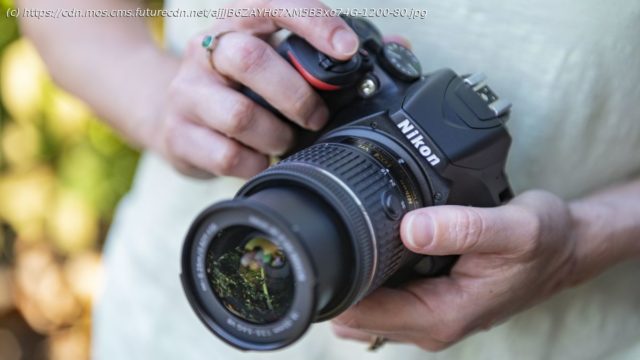
Got a new camera and not sure where to start? These top tips will help you get great shots right out of the box.
Wondering how to take great photos with your new camera and its kit lens? Whether you’ve bought yourself a DSLR or been gifted a mirrorless model, you don’t need extra glass to get started: the bundled lens should be more than good enough to shoot excellent images right out of the box. From fixed focal length primes to telephoto glass, the lens market is awash with options, yet the freebie kit lens is arguably the most versatile of them all – and there’s a good chance you’ve already got one. These inexpensive starter lenses are designed to cover the key bases for beginners. They normally offer a decent zoom range, allowing you to experiment with relatively wide angles, as well as natural and short telephoto focal lengths, all without switching lenses. The standard DSLR spectrum is 18-55mm, while options are more varied for mirrorless equipment – though 14-42mm and 16-50mm are the most common. Because they’re intended to be affordable all-rounders, kit lenses are inherently less specialized than premium glass. With maximum apertures usually limited to f/3.5-5.6, for example, they can’t challenge the depth of field performance of a prime lens, while only a dedicated telephoto option will let you get truly up close and personal with faraway wildlife. That said, the beauty of bundled glass is its adaptability. As the ideas in the list below should show, kit lenses allow you to try all kinds of photography techniques without spending a penny extra. From portraits to landscapes to action, starter glass will help your photography grow – and if you find a discipline you love, you can always splash out on a specialist lens later. So whether you’ve unboxed a mirrorless combo or a DSLR starter pack, follow these expert tips and you’ll soon discover the possibilities of the humble bundled lens. Landscape photography is one of the most popular genres, and your kit lens is perfect for taking fantastic scenic shots. All you need to do to get started is to set the focal length to its widest setting. This will give you a wide field of view; perfect for taking in an entire scene. The next thing you’ll need to do is set the camera to aperture-priority mode, which is done by turning the mode dial on your camera to A (or Av on Canon cameras). This allows you to control the aperture and depth-of-field, while the camera automatically sets an appropriate shutter speed. Then set the aperture to the ’sweet spot‘ setting of f/11. The sweet spot of the lens is the aperture at which a lens produces the best possible image quality and sharpness, and kit lenses perform very well at this setting or thereabouts. You can see for yourself by taking another shot at f/22 – the image will more than likely be a little soft. As for your camera’s ISO, you want to keep this as low as possible – ideally around ISO100. If you’re going to be shooting at f/11 at ISO100, it’s likely that you’ll see the shutter speed drop, so to avoid camera shake we’d recommend using a tripod to keep your camera stable. Now to set the focus. If you’re using a DSLR, switch the camera to its Live View shooting mode, so rather than using the viewfinder you’re using the rear screen. Zoom into the image on the LCD screen so you are looking at a position that’s one third of the distance into the scene and either move your focus area over it, or tap focus (available on most cameras now). Zoom back out of the image on screen and start shooting – you should find that you’ll get your sharpest shots ever. Long exposures are an easy way to capture dynamic and dramatic images, and most kit lenses can deliver great results. The technique is also a good way to get to grips with the key settings and capabilities of your new camera. The first step is to find a steady base, because any camera shake will be evident on an exposure of several seconds. A tripod is the easiest way to do this, but that doesn’t mean you can’t shoot without one.


