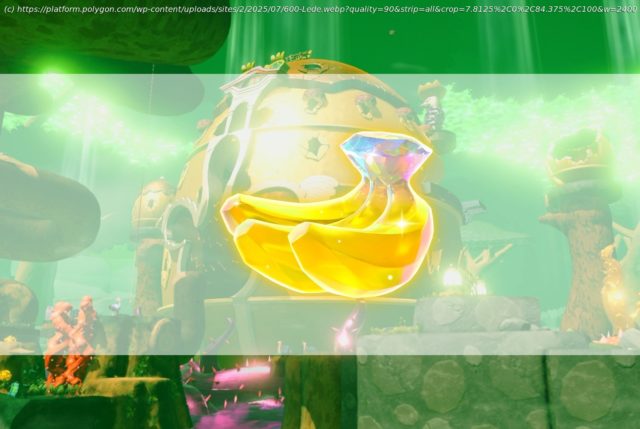
The Forest Layer is the sixth layer in Donkey Kong Bananza, and it’s home to a ton of Banandium Gems. Here’s where to find all of the bananas.
The Forest Layer is the sixth layer in Donkey Kong Bananza and its home to the beloved flying ostriches and dreadful poison.
Of course, the Forest Layer is also full of Banandium Gems. To find all of the bananas on this layer, you’ll need to make use of your ostrich powers and cleanse the forest of its poison. Some of the bananas can be fairly easy to find, but most are hidden within trees, in poisonous waters, and inside challenge courses.
Below, we list where to find all of the Banandium Gems in the Forest Layer.Sublayer 600 Banandium Gems
There are 48 Banandium Gems in Sublayer 600 in the Forest Layer.
This giant bunch of bananas is sitting on the woodland path waiting for you when you first arrive in the Forest Layer.
Next to the Beaky Thicket tuning fork, there is a voided island. Destroy the void mechanism on the island to devoid the trunk of the tree. If you look back towards the tree, you’ll notice a little divot in the wall, which hides the Forest Layer Battle Challenge 1 behind it. Defeat the five squeeloids inside to get a Banandium Gem.
Behind the Beaky Thicket tuning fork, climb up to the giant tree (not the stump, but the full-grown tree behind it), and walk to the side of it to find a hole in the wall. Break through the wall and climb up. Walk across its branches to reach the Banandium Gem on the small platform at the other end, but be careful of the thorny enemies as you’ll need to use a terrain chunk to defeat them.
From the spot you land onto the Forest Layer, climb the giant tree ahead and follow its branches. If you look closely, you’ll find a Banandium Gem hidden under a pile of leaves, but be careful of the two flying enemies nearby.
Continue climbing the tree, and once you reach the top, you’ll see a shifty cube and a banana suspended above it. Grab a chunk of wood from the tree and hurl it at the shifty cube to turn it into a wooden platform. Then, grab the seed and throw it at the now-wooden platform to create a vine bridge that lets you reach the Banandium Gem.
After you cross to Featherfall Isle from the layer’s first island, walk ahead until you cross the thorn wall. Turn to the left to spot a banana hidden in a little sandy alcove.
Before you drop from the Beak-Leap Point tuning fork, you’ll notice a trunk ahead of you that has a battle challenge on top. Make your way over and enter the battle challenge to find two buzzoids inside. Defeat the buzzoids to get a banana.
After you drop from the Beak-Leap Point tuning fork, turn left and climb the wooden ostrich to find a seed on top. Throw the seed at the wooden ostrich below to create a vine bridge over to the Banandium Gem.
Use the barrel cannon located above the Rockshade Getaway to reach the treetops above the thorns. Follow the branch path past the ostrich and past the second platform. At the end is a smaller platform with a Banandium Gem buried under some leaves.
This banana is on the wooden ostrich that you use as a seed anchor to reach Bellhop Burb.
Open the Bramble Country Ancient Ruin near the Bellhop Burb tuning fork, and make your way through the first half to get this gem.
This gem is in the background of the second barrel cannon challenge. At the top of the room is a set of four barrels, the bottommost of which automatically blasts you forward. None of the other three barrels point that way, though. To reach it, blast yourself into the topmost barrel, then press ZL to exit and angle your fall so you enter the bottom barrel.
This gem is at the end of the Bramble Country ruin challenge.
Grab the seed next to the Bellhop Burb tuning fork, and throw it onto the ostrich in the poison lake to make a bridge to the gem.
Teeleport to the Bellhop Burb tuning fork and walk straight ahead to the Fractone balancing a few stones on its head. If you’ve cleared 30,000 cubic meters of thorns, it’ll give you a banana.
Climb up the ostrich monument above Bellhop Burb Getaway, and stop on the head of the first ostrich to your left. Use your sonar to spot the banana, then punch through to get it.
At the far end of Bellhop Burb, behind and under the yellow-green eggshell house, is a wall with a soft earth patch. Punch through it to open a tunnel that takes you to the gem.
Just beside the entrance to Banandium Gem #17, you’ll find a mud mound that is hiding the entrance to a battle challenge. In this challenge, you’ll have to defeat five Antickoids that are in little cubbies surrounded by mud and concrete barriers. Make use of your Bananza forms to break through the obstacles and overcome the terrain, so you can quickly deal with each bug.
At the base of the large tree beside the Bellhop Burb, you’ll find a turnip stuck in the mud. Uproot the turnip and jump into the hole to find this Banandium Gem
After you exit the Bellhop Burb, you’ll spot a tiny isle to the left of the eggshell surrounded by a void dome. Turf Surf across the poison lake or fly over using your Ostrich Bananza powers and dig into the mud mound to reach the banana.
Climb up the tree the muddy area beside the Bellhop Burb, and make your way to the far platform hanging over the poison lake to find the pyramid that starts the challenge. Before activating it, use the seed on the previous platform to make a bridge and cut out several seconds of climbing. Then, start the trial, make your way to the platform where the shifty blocks are, and demolish them before time runs out.
This banana is in the same tree as the previous one, which is the large tree in the muddy area beside the Bellhop Burb. Climb up the tree and head to the far platform hanging over the muddy swamp to find Cranky Kong.
Use your sonar ability beside the Big Tree Getaway, which can be unlocked near the base of the tree beside the Eggshell Hotel, to find a banana behind the wall. If you’ve purchased the getaway, you can walk through it and turn around the corner to find the banana. Otherwise, start smashing your way through the tree!
On top of the Big Tree, you’ll find a pile of sand with a ring of gold around it. Dig directly in the center to drop down into the tree trunk where a banana resides.
After you’ve climbed to the top of the Big Tree, continue to climb up the neck of the wooden ostrich. At the top, you’ll find a banana sitting on the wooden ostrich’s head.
After you blast through the front door of the Eggshell Hotel, you’ll see a gem sitting on the front desk.
Climb all the way to the top of the Eggshell Hotel and to find a banana at the peak.
Drop down to the next floor under the lobby and break down the door to find a thorny crockoid guarding a banana. Defeat them or run around them to collect it.
After you drop down to the floor under the lobby, stand on the barrel cannon and look up and to the right to see a banana on the ceiling. Along the wall, you’ll find a seed that is blocked off by thorns. Destroy the thorn wall and throw the seed at the wooden ceiling just behind the banana to create a bridge. Cross it to collect your banana.
On the floor with the pool, you’ll find a room with a seed and a half-broken wall. Completely tear down the wall to spot a wooden crockoid in the distance. Throw the seed at the crockoid to create a vine bridge and cross it to find a banana at the end of the path.
Make your way to the bottom floor of the Eggshell Hotel. Along the outer wall, you’ll find a door that is hiding the All-You-Can-Eat Tower Ruin. The next three bananas, including this one, will all be found in the challenge.
Head inside and follow the main path, but turn around before you reach the first gem on the main path. You’ll see a walled off pillar. Either use one of the snakes as a platform to reach it or do a chunk jump and you’ll find a gem hidden there.


