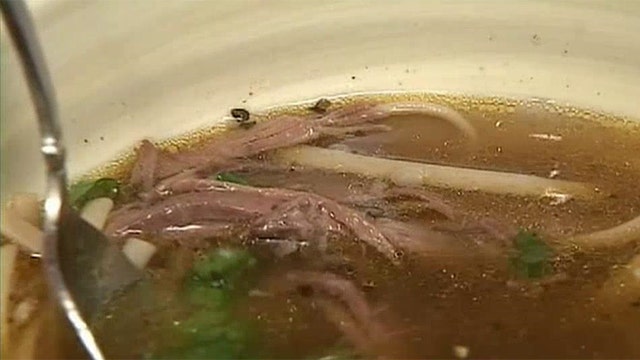
 It’s been a couple years since souping became the new juicing but we’re still not totally sure about the difference between stock and bone broth, especially now that we’re making it at home. After several internal debates, we decided to ask the de facto expert on the topic, Marco Canora, chef of Hearth and brodo in New York, to give us the rundown.
So what’s the deal?
« Bone broth is essentially stock, » he admits. The confusion comes from the traditional definition for stock, which is more viscous due to the collagen that seeps out of joints and bones during long-term cooking, and broth, which is thinner and is made with more actual meat (versus meat-stripped bones used for stock).
(iStock)
Explains Canora, « Three to five years ago, because of the wellness and paleo trends, stock started being called bone broth. It really short-circuited my brain. »
So, bone broth—like a really good stock—is defined by its thickness (due to gelatin) and exceptionally long cooking time. Accordingly to BA food director Carla Lalli Music, a chicken , beef , or veal broth only takes between two and four hours to cook. In Canora’s cookbook, brodo , a chicken bone broth should take approximately six hours and a beef or lamb bone broth should take anywhere between 16 and 18 hours. Just let it occupy a back-burner of your stove (during waking hours if possible! Safety first!).
A bone broth can’t really be overcooked, he says, because the point is to break down all of the cartilage until there’s a lot of collagen-rich gelatin in that broth. According to bone broth devotees, that collagen—which makes bone broth cool into a more solid beefy Jell-O when you put it in the fridge—is a protein that’s supposedly great for your skin, hair, and nails, and promotes a healthy gut.
Making your own bone broth begins with befriending your butcher and asking for soup bones. They’ll know what you’re talking about—those knobby knuckles (or Canora’s favorite part, the neck bones) and other parts of the animal that have enough meat and cartilage to melt into your broth. Just don’t use marrow bones.
You’ll need a few essential tools: a baking sheet to roast bones on (if you’re going for the super dark broth), a large stainless steel stock pot, a fine-mesh sieve to strain out the solids later, and something to skim the fat off the top of the liquid as it’s cooking. Canora likes to get the heartiest flavors he can when he’s making his own bone broth, so he throws the bones onto a baking sheet and roasts them for about 20 to 30 minutes at 450°F, until they’re browned. You could even put your onions and carrots on there too—depends what kind of flavor you’re looking to impart into your broth.
Then, put the bones and vegetables (onions, carrots, and celery work well—but the possibilities are endless) into your stock pot, and submerge in water by about two to four inches or so. Just make sure that there are a few inches between the top of the liquid and the top of the pot. And don’t salt the liquid until the very end.
Bring the liquid with the bones and vegetables to a boil. This is going to take a while—that’s totally normal. Skim the surface and remove the fat pooling at the top every 20 minutes or so until it boils. Once it does, lower the heat until the liquid simmers. Some people suggest covering the pot, but Canora, who doesn’t use a slow cooker or pressure cooker because he doesn’t like the idea of shortcuts in the kitchen, likes to leave it wide open.
From there, you’ll only need to skim the surface a few times between the start of the simmer and when you take it off the stove. When you’re ready for that, strain the liquid through the fine-mesh sieve, leaving any solids behind. Don’t be shocked by a small yield; you’ll get a few quarts for your efforts. Let it cool a little, then divvy it up into storage containers and drink as if it’s coffee or tea or whatever else you would normally put in your thermos that isn’t casual soup.
Common Mistakes When Making Bone Broth


