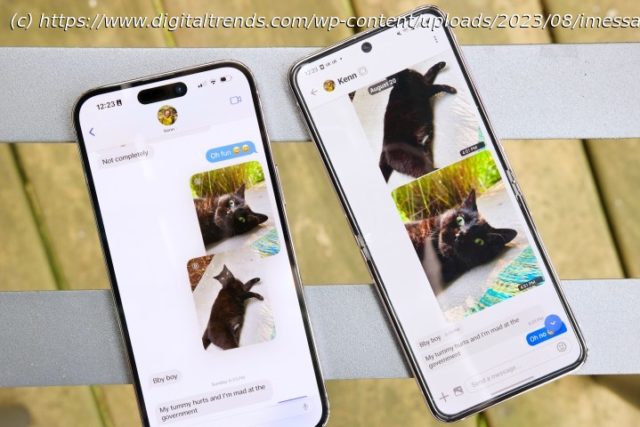
Apple may never put iMessage on Android, but that doesn’t mean it’s impossible. Here’s how you can chat away on iMessage on an Android phone right now.
One of the big draws of iPhone and Mac is the iMessage software. This texting app makes it easy to stay connected to friends and family, and many users point to it as a key reason they stay within the Apple ecosystem – venture off to Android, and you’ll be stuck with third-party apps or standard text chats.
However, that’s not actually the case anymore. While Apple’s iMessage software is exclusive to iOS and you won’t find it in the Google Play Store, a new app called Beeper lets you access the iMessage platform. The universal chat app works with a variety of texting software beyond iMessage, making it a one-stop-shop for all your communication needs.
Interested in checking it out? Here’s a look at how to use iMessage on an Android phone or tablet through Beeper.How to use iMessage on Android with Beeper
Currently, Beeper is invite-only, but you can sign up for the waitlist on the Beeper website. If you know someone who has a referral code, you can ask them for an invite and skip the waitlist. You’ll need to download a desktop version first before you can get the mobile app.
Step 1: Get Beeper on your Mac or PC by downloading the app from the website.
Step 2: Set up your Beeper account with the email that you used to sign up for the waitlist. Make sure to verify and confirm your name, email, and username as you go through the on-screen instructions.
Step 3: There will be a Recovery Code for you in case you need to recover your account — it’s important to make sure you save the Recovery Code somewhere safe.
Step 4: On the Main Chat App selection screen, select iMessage.
Step 5: On the next screen, you can select more chat networks if needed.
Step 6: Make sure you’re looking at the iMessage connection specifically. If it’s not selected, select it, then choose Start.
Step 7: Enter your Apple ID credentials, then select Continue.
Step 8: If you have two-factor authentication (2FA) turned on, make sure to enter the verification code, then select Continue.


