From pain-free shutdowns to crap-free search, these tweaks will improve your experience
hands on Windows 11 has a number of puzzling or annoying UI changes from Windows 10 that power users might wish to change. But you can’t make these tweaks from the Settings menu or even the legacy Control Panel. To make these changes, you’ll need to edit the Registry.
For those unfamiliar, the Windows Registry is a set of folders and values that configure certain core functionality of the OS. You can edit and add to it using a built-in tool called Registry Editor (aka Regedit), but be careful, because if you delete or change the wrong entries, you can mess up your entire computer. We should note that these tweaks are for power users who have full admin control over their own personal computers. By and large, if you’re using a managed Windows machine, IT will have locked you out of editing the Registry (for good reason – imagine all the helpdesk calls).
Below, we’ll show you 11 different hacks that will massively improve your Windows 11 experience, but require Registry tweaks to work. These range from bringing back the full Windows 10 context menu to eliminating the time-wasting lock screen and everything in between.Editing the Registry
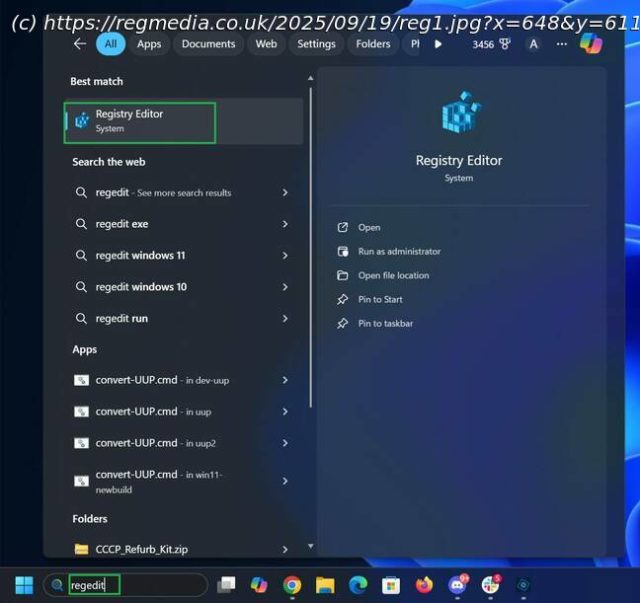
To get to the Registry Editor, search for regedit in Windows Search and then click the top result.
You may want to back up your PC before you edit the Registry, because if you do something really bad, you could adversely affect the performance or stability of Windows.
When you’re done editing the Registry, always close the Registry Editor to save. Then restart your computer to see the result of the changes you made.1. Bring back the full right click context menu
By default, Windows 11 hides all of the available options from its right-click menus. If you want to see each one of them, you need to click « Show more options. » Some options, such as « Print » and « Create shortcut », are always missing, and links to open a file in a particular program are at the bottom rather than the top of the list of options.
Below, you can see the default context menu you get when right-clicking an image file on the left versus the Windows 10-style complete context menu on the right. The options will vary based on what you right click on and what you have installed, but you always get a more complete list with the full context menu.
To switch to full context menus, first open Regedit and navigate to HKEY_CURRENT_USER\Software\Classes\CLSID.
Then create a new Registry key (aka a folder) called {86ca1aa0-34aa-4e8b-a509-50c905bae2a2} underneath CLSID. You do that by right clicking on CLSID and selecting New->Key. Then you rename the folder it creates to {86ca1aa0-34aa-4e8b-a509-50c905bae2a2}.
Create another new key under {86ca1aa0-34aa-4e8b-a509-50c905bae2a2} and call it InprocServer32. Then open the default value in InprocServer32, set it to blank, and click Ok.
As always with Registry changes, you’ll need to close the Registry and then restart your computer (or log in / log out) to see the changes.2. Shut down even when apps don’t want you to
We’ve all been there. You go to shut down or restart your computer and you get an error message like the one below. One or more of your apps claim to have unsaved content and therefore it won’t close and won’t allow Windows to power down.
Sometimes the apps that prevent a shutdown don’t even have unsaved content in them. In the example above, File Explorer itself was among those holding up the train. Or perhaps you didn’t really want to save that image you already copied and pasted out of Photoshop and onto Facebook, but the image editor is still blocking shutdown.
Fortunately, with a simple Registry change, you can tell Windows to force-close apps that prevent it from shutting down.
First, in Registry Editor, navigate to HKEY_CURRENT_USER\Control Panel\Desktop.
Then create a string value called AutoEndTasks if one with that name doesn’t already exist. You can create a string value by right clicking in the right pane and selecting New->String Value. Then rename it to AutoEndTasks.
Then set AutoEndTasks to 1. You do that by double clicking on AutoEndTasks and entering 1 in the dialog box that appears.


