You can manage camera on Windows 11 using just the settings app. You can manage privacy, disable and even enable your camera.
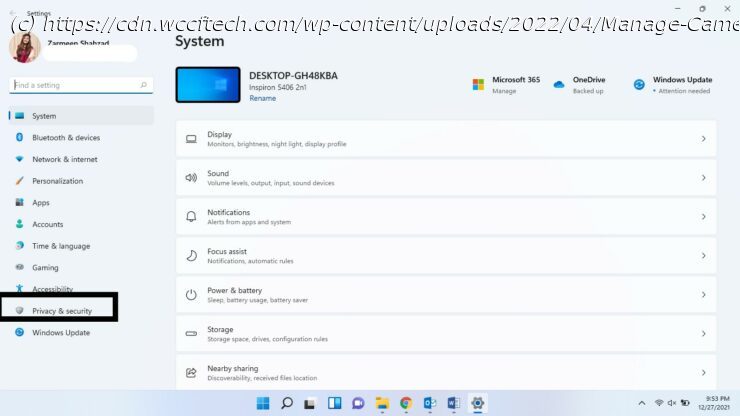
Before you start using your Camera, you should always ensure that you have tweaked the settings to ensure that not every app has access to the Camera and that your privacy isn’t breached. This tutorial will show you how to manage the Camera on Windows 11 computers. The tutorial will include instructions on modifying privacy settings as well for your safety. Before anything else, you should modify the privacy settings and ensure that you are not giving unrestricted access to your Camera. How to Change Location Settings on Windows 11 Systems Step-1: Open the Windows 11 Settings app using the shortcut keys Win + I. Step-2: Select Privacy & Security from the left pane. Step-3: Locate the Camera under App Permissions in the right pane and click on it. How to Check Hard Disk Health on Windows 11 Computers Step-4: Ensure that the toggle switch next to Camera access is turned On. Step-5: If you wish for all the apps to have access to your Camera, ensure that the Let apps access your camera toggle switch is On. Step-6: Furthermore, you can individually turn Off the toggle switch for the apps you don’t wish to have access to the Camera. You can only do this if the Let apps access your camera switch is On. All the toggle switches next to individual apps will be greyed out if you turn them off. If for whatever reason, you wish to disable the Camera and don’t want to use it for a while, then you can do that too. Follow the steps below: If you wish to enable the Camera again, you can do that later on. Just follow steps 1 – 3. Then select Enable next to the relevant Camera under the section Disabled Cameras. I hope this helps. Let us know if you have more questions in the comments below.