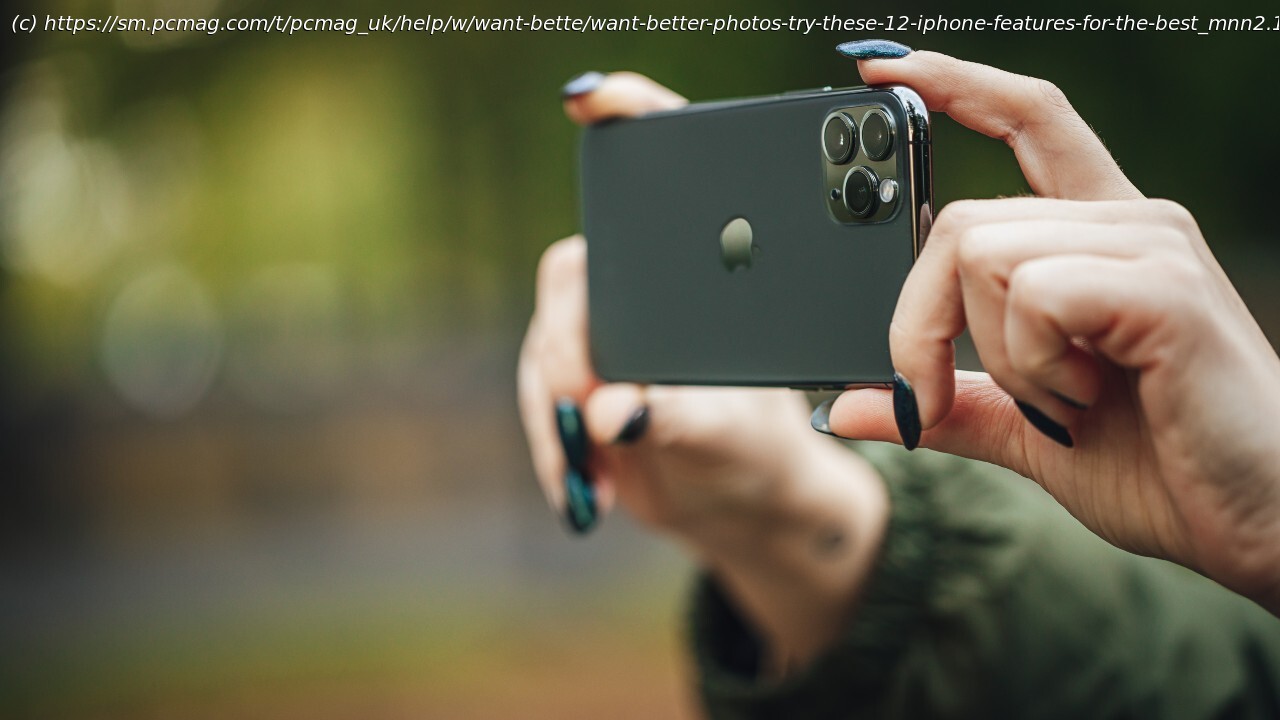
Your iPhone’s camera offers a dizzying array of features and settings. But how do you use them to capture the best photos? Here are several techniques to try and how to achieve them.
You’ve just snapped another round of photos on your expensive iPhone, but are they any good? If you’re disappointed to discover they’re dark, out of focus, or poorly framed, don’t worry. Your iPhone is capable of producing amazing photos, but to capture really great ones, you’ll need to go beyond the default settings.
Part of the game is understanding your particular iPhone and discovering what the camera can do. Apple typically enhances the camera with each new generation, so the newer the phone, the more features the camera may offer. You’ll also find more advanced techniques in the Pro and Pro Max premium models. To get even more from your phone, make sure it’s updated to the latest version of iOS so that you have all the latest and greatest features. Here are 12 techniques you’ll want to use.1. Vary the Exposure
Sometimes a photo doesn’t look its best because it’s overexposed or underexposed. That can happen if you shoot a tricky scene with the default exposure setting, which can’t handle all types of lighting situations. For such a scene, I’ll often increase or decrease the exposure and take different shots at different levels to cover my bases.
To change the exposure, swipe up from the bottom of the screen or tap the icon at the top with the six dots to display the camera controls, and select Exposure. Swipe to the right to increase the exposure and to the left to decrease it. If you have enough time, try taking a photo with the exposure set to 0 before taking a few more with the exposure set higher or lower. You can see the effect through the viewfinder so you should be able to tell how each setting will affect your photo.
Here’s another way to adjust the exposure. Aim your phone at the scene and then tap anywhere on the screen. A yellow square appears with a vertical line and a sun icon on top. Move your finger up on the screen to increase the brightness and down to decrease it. Take the shot when it’s exposed the way you want.2. Adjust Exposure for a Particular Area
Beyond adjusting the exposure for the whole scene, you can set it for a particular area. For example, maybe you’re taking a photo of a person or object that’s backlit. The normal exposure might cause the subject to be underexposed and look too dark. Instead, tap the area that shows the person or object you want to capture in the right light. The scene should adjust the exposure for the area you selected to make sure it’s exposed properly.3. Keep the Subject Properly Exposed and in Focus
Want to make sure your shot is properly exposed and in focus, even if you move your phone? With the subject in the frame, press down on the area until you see a notification at the top that says: “AE/AF Lock.” That means the automatic exposure and automatic focus are both locked.