Android Studio Tutorial: An Introduction – Developer.com

 Android is one of the most popular mobile device platforms. The Android platform allows developers to write managed code using Java ( http://www.developer.com/java ) to manage and control the Android device. Android Studio is a popular IDE developed by Google for developing applications that are targeted at the Android platform. Note that Android Studio has replaced Eclipse as the IDE of choice for developing Android applications. This article presents a discussion on how to get started using the Android Studio for developing Android applications.
Android Studio contains tools such as the Android Virtual Device Manager and the Android Device Monitor. It also contains Gradle, which helps you configure your Android application seamlessly. Some of the interesting features of Android Studio include the following:
Assuming that Android Studio is installed in your system, we will explore how we can create a simple application using Android Studio in the section. Android applications are based on the Java programming language and make extensive use of XML. To create an Android application using Android Studio, follow these simple steps:
That’s all you need to do for now. Please be patient for a while because it would take some time for the project to be loaded. After a while, your first Android application will be created—default though, because it doesn’t have any custom code.
Let’s dig into a bit of code now. You can create user interfaces in Android applications using Java or XML. Let’s write some Java code to display a text message to the user. Refer to the class named MainActivity that was created by default. This class is created in the file named MainActivity.java and extends the AppCompatActivity class and contains the onCreate method. Note that any Android application can have one or more activities. An activity usually represents a screen. An activity may be defined as the visual representation of your Android application.
Replace the default code of the onCreate method with the following:
To run the application, press “Shift + F10”. When you run the application, here’s what the output would look like.
Figure 5: The finished application, running its output
Android Studio is a development IDE from Google that makes your life easier for developing Android applications. This article presented a discussion on how to get started using the Android Studio to build and develop Android applications. I will discuss more on developing Android applications using Android Studio in my future articles here. Happy reading!
© Source: http://www.developer.com/ws/android/android-studio-tutorial-an-introduction.html
All rights are reserved and belongs to a source media.

 In the mobile world, some of the biggest stories of the year had a distinctly political flavour to them. BT had its takeover of EE waived through at the start of 2015, but the concurrent acquisition of O2 by Three was denied due to competition concerns. The consequences of these two regulatory decisions are yet to be fully felt or understood, however, there is no doubt this story will continue into 2017 and beyond.
 Про це повідомив міністр оборони Степан Полторак в інтерв’ю “5 каналу”.
 Печерський райсуд Києва схвалила арешт збіглого українського олігарха Сергія Курченко\а.
 В результаті бойових дій на сході України за минулу добу жоден український військовий не загинув, проте двоє бійців поранені. Про це на брифінгу повідомив речник Міноборони з питань АТО Олександр Мотузянік, передає кореспондент ЛІГА.net .
 Бойовики.
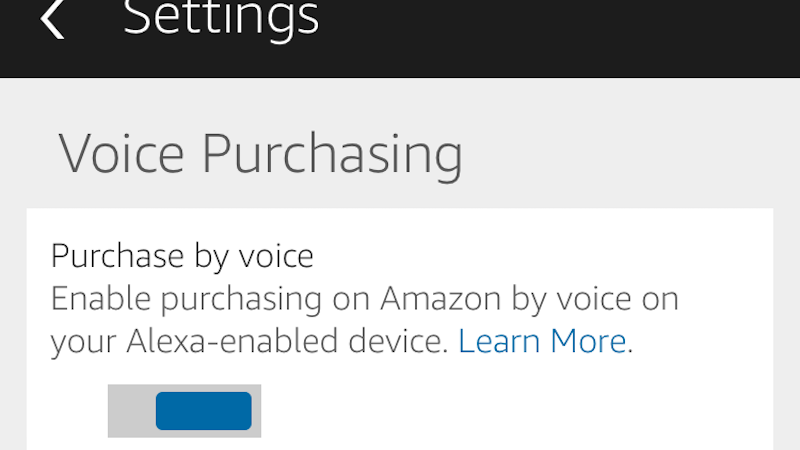 Amazon’s $25 minimum on their add-on items can be a bit of a bummer when you’re just trying to order something small, but How-To Geek points out you can use an Amazon Echo to get around that.
 Nvidia has officially launched the Pascal-based GeForce GTX 1050 and GTX 1050 Ti mobile graphics processors, with over 30 laptops expected to be shown off at CES this week. Graphics giant Nvidia has announced the official launch of GeForce GTX 1050 and 1050 Ti graphics processors for laptops, which again do not include the -M suffix which would traditionally indicate a mobile variant.
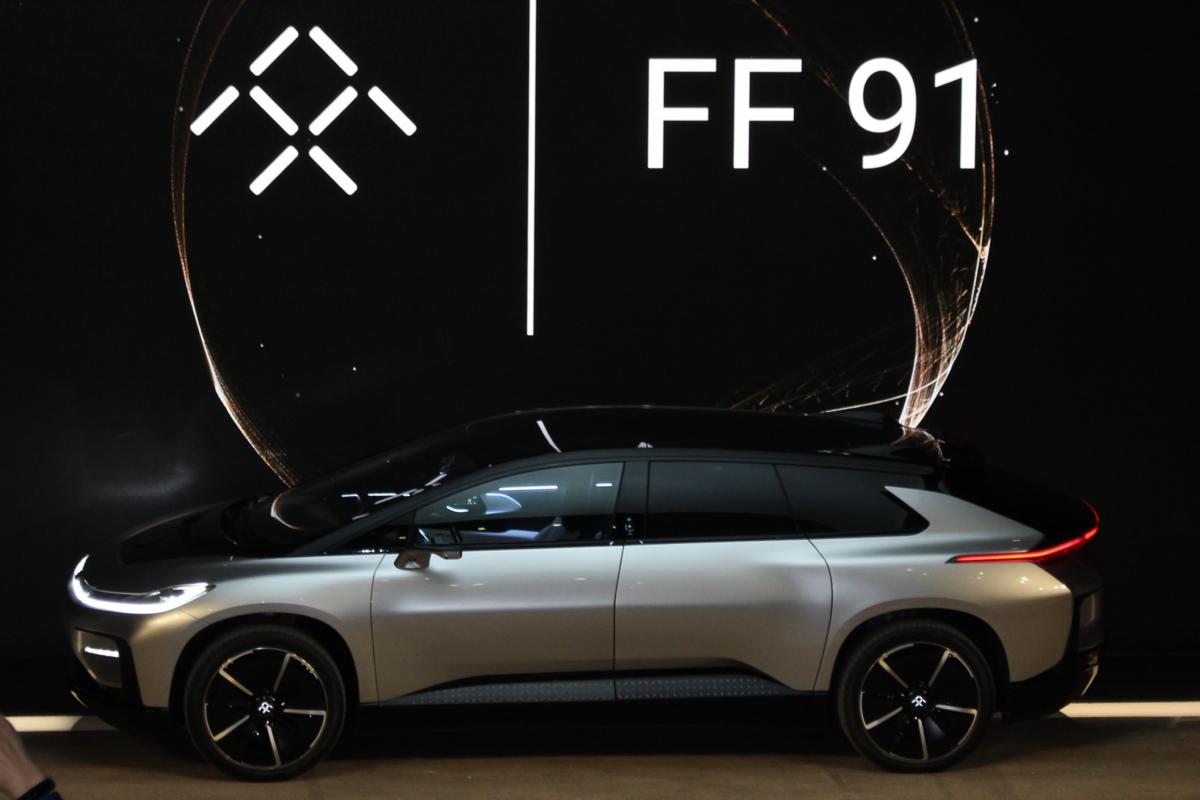 Faraday Future unveiled the FF 91, its first production EV, at CES in Las Vegas Tuesday night. Unlike the fantasy racecar at last year’s show, the FF 91 (pronounced “nine-one”) actually moved and drove—drove itself, parked itself, and did 0-60 in 2.39 seconds live onstage (with a driver). Also unlike last year’s car, Faraday has plans for the FF 91, including the production of 300 limited editions in March and mass production sometime in 2018.

