This example provides the steps to build a simple user management app (from scratch!) using Supabase and Svelte.
Join the DZone community and get the full member experience.
This example provides the steps to build a simple user management app (from scratch!) using Supabase and Svelte. It includes:
By the end of this guide you’ll have an app that allows users to log in and update some basic profile details:
Whenever you get stuck at any point, take a look at this repo.
Before we start building we’re going to set up our Database and API. This is as simple as starting a new Project in Supabase and then creating a «schema» inside the database.
Go to app.supabase.com.
Now we are going to set up the database schema. We can use the «User Management Starter» quickstart in the SQL Editor, or you can just copy/paste the SQL from below and run it yourself.
Now that you’ve created some database tables, you are ready to insert data using the auto-generated API. We just need to get the URL and anon key from the API settings.
Let’s start building the Svelte app from scratch.
We can use the Quickstart Svelte Template to initialize an app called supabase-svelte:
Then let’s install the only additional dependency: supabase-js
npm
Yarn
And finally, we want to save the environment variables in a .env. All we need are the API URL and the anon key that you copied earlier.
Our app is almost functional, to make svelte work with supabase and .env files we first need to change the rollup.config.js file a bit. Supabase imports json files, to convert .json files to ES6 modules we need the @rollup/plugin-json install it by running:
npm
Yarn
and add these plugins to the rollup.config.js file.
Now that we have the API credentials in place, let’s create a helper file to initialize the Supabase client. These variables will be exposed on the browser, and that’s completely fine since we have Row Level Security enabled on our Database.
And one optional step is to update the CSS file public/global.css to make the app look nice. You can find the full contents of this file here.
Let’s set up a Svelte component to manage logins and sign-ups. We’ll use Magic Links, so users can sign in with their email without using passwords.
To access the user information in other places, we use a writable store. Create a new file called sessionStore.js
After a user is signed in we can allow them to edit their profile details and manage their account. Let’s create a new component for that called Profile.svelte.
Now that we have all the components in place, let’s update App.svelte:
Once that’s done, run this in a terminal window:
npm
Yarn
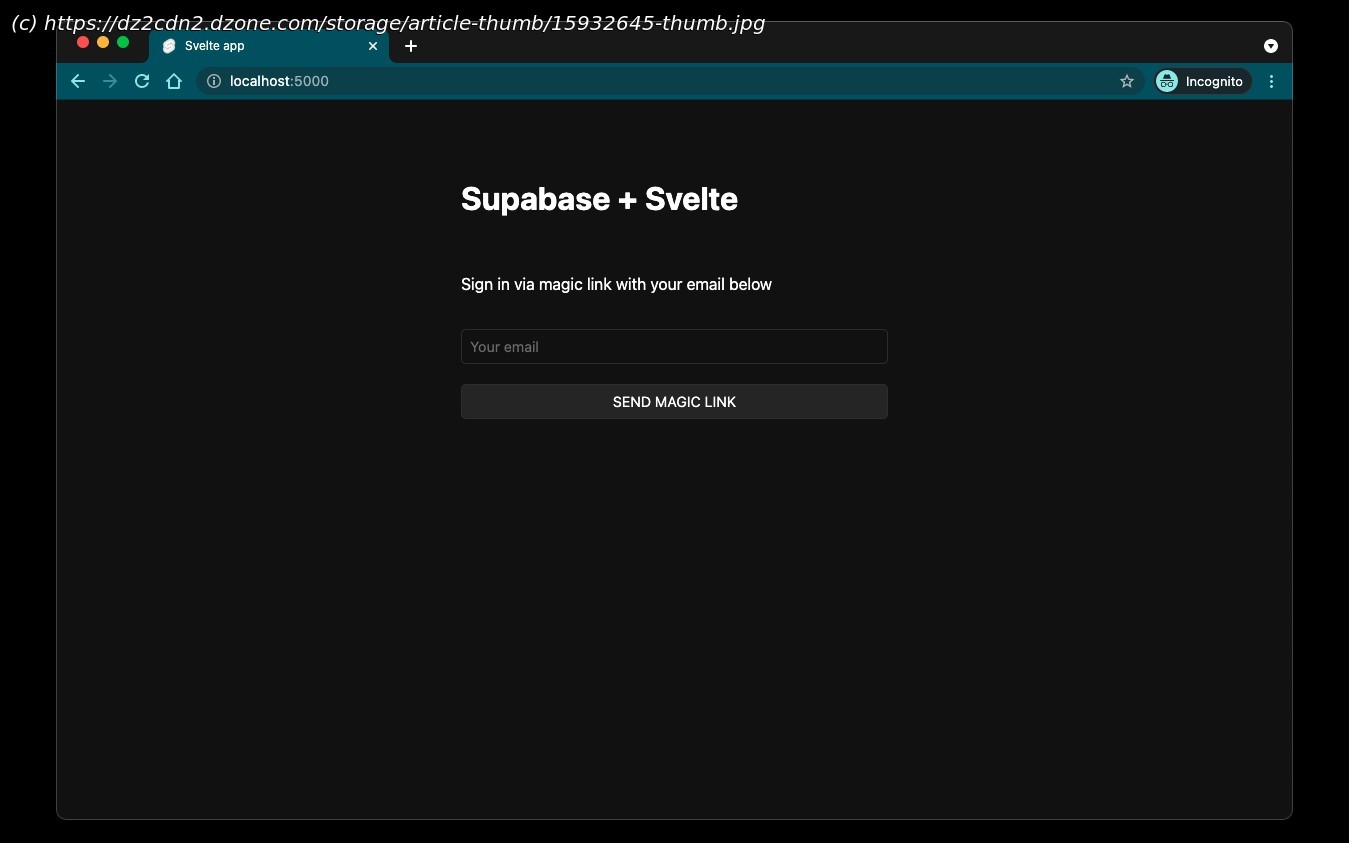
And then open the browser to localhost:5000 and you should see the completed app.
⚠️ WARNING: Svelte uses by default port 5000, Supabase uses port 3000. To change the redirection port for supabase go to: Authentication > Settings and change the Site Url to localhost:5000
Every Supabase project is configured with Storage for managing large files like photos and videos.
Let’s create an avatar for the user so that they can upload a profile photo. We can start by creating a new component:
And then we can add the widget to the Account page:
At this stage, you have a fully functional application!
Published at DZone with permission of Rory Wilding.
See the original article here.
Opinions expressed by DZone contributors are their own.